KNOWLEDGE · PRODUCT SYSTEMS · 29 OCTOBER 2026
Practical answer
Specify a wardrobe through its movements as well as its finished elevation. A door must open, a drawer must extend and the user must reach the storage behind them. Confirm the exact hardware model and its installation instructions against the cabinet dimensions. This turns a visually tidy wardrobe proposal into a storage system that can be assembled and used as intended.
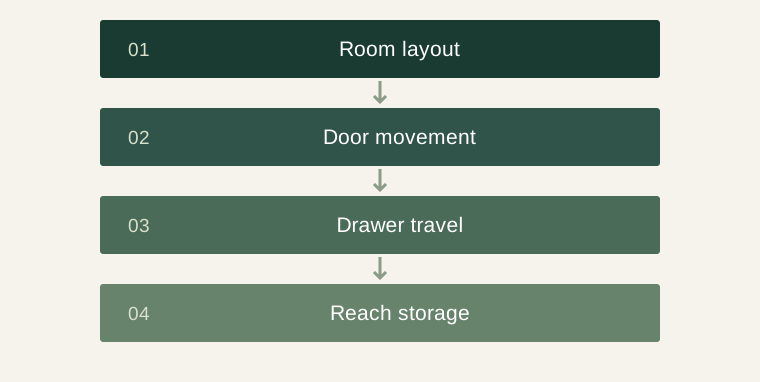
Map a complete access sequence
Start with the things being stored and the sequence used to reach them. A hanging section, internal drawer and pull-out shelf may share the same outer door, but they require different access. Mark the open positions on the plan and elevation instead of reviewing only a closed front view.
Test the arrangement in the context of the bedroom. A nearby bed, bedside table, entrance door or curtain can interfere with movement. Give the cabinet designer those neighbouring dimensions and identify which pieces are fixed. A wardrobe that works in isolation may require a different door arrangement once the whole room is drawn.
Distinguish a function from a product reference
Soft closing, full extension and concealed hardware describe functions, not complete specifications. Ask for the manufacturer, product family, model and intended application. Keep these references together with the cabinet dimensions and front configuration. A replacement should be reviewed as a substitution rather than accepted because its description uses the same words.
Blum’s product information separates box systems, runners, hinges and motion technologies. This is a useful reminder that a smooth opening demonstration does not identify every component behind it. Use the manufacturer’s information for the proposed model and have the cabinet maker confirm the application in writing.
Draw conflicts before cutting panels
An internal drawer may need room to pass an open door or hinge. A long handle may conflict with a neighbouring wall or another handle. Sliding fronts can conceal part of an internal compartment while leaving another exposed. These relationships belong in the detailed drawing review.
Ask the designer to show the relevant open positions and hardware zones. The supplier should resolve the product-specific geometry; the buyer’s role is to confirm the intended use and room context. Keep the final reviewed drawing with the order so an installer can distinguish an approved arrangement from an early visual concept.
Account for uneven buildings and finishing work
Fitted storage meets walls, floors and ceilings that may differ from an ideal drawing. Identify who measures the finished opening, how site tolerances are handled and which filler or finishing components are included. Confirm whether the measurement occurs before or after flooring and wall finishes are completed.
The installation plan should identify access to fixings, assembly space and the sequence for fitting large components. Ask the installer to check the actual destination conditions before production is released. Where attachment or stability requirements apply, use the appropriate local professional and the product’s installation instructions rather than improvising a fixing from a photograph.
Approve the inside as carefully as the outside
A front sample establishes the visible colour and surface. It says little about drawer interiors, shelf edges, rails and the finish of exposed holes or cut-outs. Review the interior component list and ask what is included in each compartment. Record optional fittings separately to prevent an inspiration image from being mistaken for an inclusive quotation.
For repeated rooms, build one consistent storage schedule with room-specific exceptions. A main bedroom and guest bedroom may share the same front finish but need different internals. Give every variation a reference and show how it changes quantities, hardware and assembly information.
Plan adjustment and replacement information
Moving parts may need the adjustment described in the manufacturer’s instructions after installation. Keep the hardware references and maintenance information available to the installer and owner. Ask which replacement parts are available and how to identify them from the completed cabinet.
At handover, operate each agreed movement, check the item list and record unresolved points. If a drawer does not behave as expected, describe its reference and the condition in which the issue occurs. This gives the supplier a more useful starting point than a general statement that the wardrobe is not working.
Treat hardware adjustment as a designed feature
Adjustable hinges and runners give the installer ways to align components, but adjustment is not a substitute for an unresolved cabinet design. Ask which settings the specified product allows and what instructions apply. An installer should not be expected to compensate for a wrong door size or incompatible internal layout by guessing at adjustment screws. Record any product change that alters how the assembly is set up.
Consider the order in which hardware can be reached. A fixing hidden behind an installed interior panel may require a different assembly sequence from one accessible at the front. Ask for the supplier’s sequence and check that the destination team has the necessary access. This is particularly useful for full-height units and installations in narrow bedrooms.
Separate day-to-day operation from occasional maintenance. The owner needs convenient access to stored items; the installer or service technician may need access to a different part of the assembly. A good handover preserves both. Keep the final compartment layout and hardware identifiers where they can be found later, including any room-specific exceptions to the standard wardrobe design. That record helps a replacement request remain specific even if the original sales contact has changed.
A specification checklist
| Decision | What to show | Who resolves the detail |
|---|---|---|
| Door arrangement | Open and closed positions | Cabinet designer |
| Internal drawer | Extension and access route | Cabinet maker and hardware specification |
| Room interface | Bed, entrance, curtain and walls | Project designer |
| Installation | Measurements, fixings and adjustment | Destination installer |
Illustrative bedroom review
A wardrobe proposal contains internal drawers behind hinged fronts. The owner prefers a larger bedside table after the first layout is prepared. Rather than approving the original drawing unchanged, the designer overlays the new furniture footprint and the wardrobe’s open positions. One compartment changes to shelves, while drawers move to an unobstructed section. The revised schedule keeps the exterior finish consistent and identifies the changed hardware references. No universal clearance number is assumed; the actual products and room determine the resolution.
Questions buyers ask
Is soft closing a complete hardware specification?
No. Record the actual product reference and application as well as the desired motion.
Should the site be measured after finishes?
Agree the measurement stage with the designer and installer, including how unfinished surfaces and later finishes are represented.
What should be retained after installation?
Keep the final drawings, hardware schedule, adjustment instructions, finish references and supplier contact.
Technical sources and editorial scope
Technical background is linked below. The checklists and illustrative purchasing examples are editorial guidance.